How Do You Make Flan Dessert
The Basics of Making Flan Dessert – Uncover the essential ingredients and tools needed to create this classic and creamy treat.
So you want to make flan, huh? Well, get ready to embark on a journey of sweet, creamy deliciousness! Now, before you dive headfirst into the world of flan-making, let me give you the lowdown on the basics. First off, you’re going to need some essential ingredients: eggs, sugar, milk, vanilla extract, and a pinch of patience (because good things take time, my friend). As for the tools of the trade, you’ll want to arm yourself with a trusty whisk, a sturdy saucepan, and a caramel-coated baking dish that will make you feel like a culinary Picasso. So, roll up those sleeves, put on your flan-making hat (yes, it’s a real thing), and get ready to dazzle your taste buds with this classic, velvety treat. Just be warned – once you’ve mastered the art of flan-making, there’s no going back. Your friends will be begging for more, and you’ll forever be known as the Flan Master. You’ve been warned, my friends.
Perfecting the Caramel Sauce – Discover the secrets to achieving a rich and luscious caramel sauce that adds a delightful sweetness to your flan.
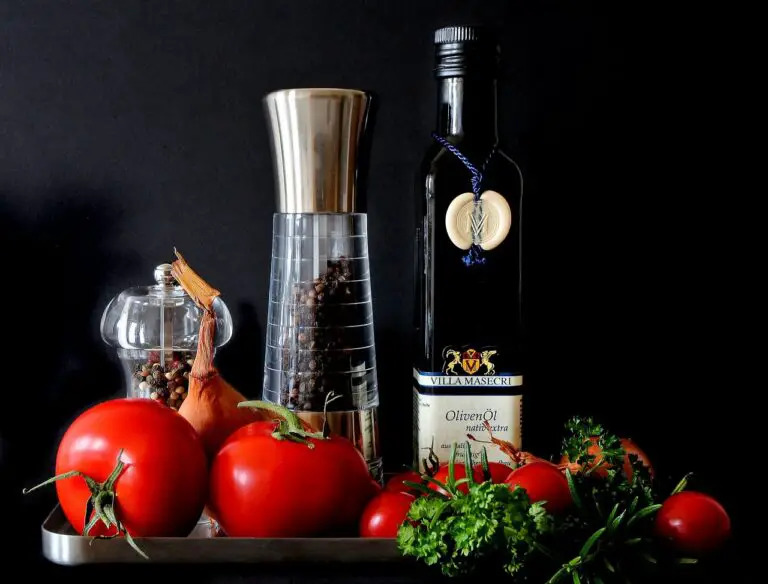
An interesting fact about how to make flan dessert is that the traditional recipe for this delicious and creamy dessert originated in ancient Rome. The Romans originally made a similar dish called ‘lac lactis,’ using milk, honey, and eggs, which evolved over time to become the beloved caramel flan we know today.
Ah, caramel sauce, the golden elixir that can turn any dessert into a sweet symphony of flavors. Picture this: you’re about to dig into a decadent flan when suddenly, the heavens part and a voice whispers, ‘Wait! Perfect that caramel sauce, my friend.’ Intrigued, you embark on a journey to uncover the sacred secrets of creating the greatest caramel sauce known to humankind. Through countless sticky mishaps, finger-licking taste tests, and burnt pans (RIP), you become a caramel sauce aficionado, armed with the knowledge to achieve a rich and luscious syrup that makes your taste buds sing hallelujah with every bite. So gather ’round, fellow dessert enthusiasts, and prepare to enter the caramel sauce hall of fame.
Mastering the Custard – Learn the step-by-step process to create a velvety smooth custard base

Ah, custard, the ultimate velvety smooth indulgence that never fails to bring joy to our taste buds! Today, my fellow food enthusiasts, we shall embark on a thrilling journey of custard mastery. Are you ready to elevate your dessert game to new heights? Buckle up, because we’re about to dive into the step-by-step process of creating a custard base that’ll make your taste buds dance like there’s no tomorrow!
First things first, let’s gather our weapon of choice: a trusty saucepan. Picture it as your culinary knight in shining armor, ready to whisk away any doubts you may have about custard making. Now, gently pour in some dairy goodness – be it milk, cream, or a combination of the two. This creamy concoction is the backbone of our custard, so make sure it’s of the highest quality. We’re all about that luxurious experience here, folks!
Next up, let’s arm ourselves with the sweet essence of life: sugar. Now, some may call it a mere sweetener, but oh, my friends, it’s so much more than that. It’s the fairy godmother that transforms our humble dairy into a magical symphony of flavors. Sprinkle it over your dairy mixture and let it work its charm, whisking it gently into submission.
But wait! Here comes the star of the show, the ultimate custard power player – the egg. Crack it open and separate the yolk from the white like a superhero separating truth from justice. The yolk, dear readers, is our secret weapon for injecting richness and decadence into our custard. Combine these golden beauties with a gentle dusting of cornstarch, and you’ve got a custard base that’ll leave your taste buds begging for more.
Now comes the moment of truth, my friends. It’s time to bring our saucepan to the stove, where the magic will unfold. A word of caution: this is the most critical part of custard making. Too much heat will result in a scrambled nightmare, while too little heat will have you waiting for eternity. Let’s find the sweet spot, shall we? Slowly and attentively, whisk your mixture over medium heat, coating the back of your spoon. Keep a watchful eye, for patience is the key to velvety perfection.
As you whisk away, the custard base will gradually thicken, embracing you with a heavenly aroma that tantalizes your senses. You’ll witness a majestic transformation from liquid to a glorious, smooth custard. Your arms may tire, but fear not, my friends, for this exercise shall be rewarded with the ultimate dessert masterpiece.
Once thick enough to coat the back of a spoon with pride, remove the saucepan from the heat and let it cool. But don’t be fooled! The adventure doesn’t end here! Feel free to add your own creativity to this custard masterpiece – a hint of vanilla, a sprinkle of cinnamon, or a dash of nutmeg. The world is your oyster, or rather, your custard-filled pastry shell.
And there you have it, dear readers, the step-by-step process of mastering the custard. Your taste buds will forever be grateful for this culinary quest that you’ve embarked upon. So go forth, armed with your whisk and saucepan, and create custard wonders that will make jaws drop and salivary glands dance with joy. Happy custard making, my fellow dessert enthusiasts!
ensuring that your flan has the perfect texture and consistency.
A fun fact about making flan dessert is that its origins can be traced back to ancient Rome. It was a popular sweet dish served during lavish feasts and was known as ‘tiropatinam’ or ‘tyropatina.’ It is fascinating to think that the recipe for flan has been enjoyed for centuries, making it a delicious dessert with a rich history!
Ah, the art of flan-making! It’s like a delicate dance between achieving a silky smooth texture and a consistency that can hold its own. Step one: choose your ingredients wisely – they must have the agility to blend harmoniously. Step two: whisk, whisk, whisk! Put those arms to work and don’t hold back. This is the time to show off your biceps, my friend. Step three: bake with love and patience. Treat your flan like a delicate soufflé and pamper it with the warmth of your oven. And lastly, the most crucial step: resist the temptation to dive right in! Allow your flan to cool and set, otherwise, you might end up face-first in a gooey mess. Remember, perfect flan texture requires both skill and self-control!

Austin is a witty and vivacious blogger who has a knack for making people laugh. With her infectious sense of humor, she effortlessly brings joy to her readers through her blog posts. But Austin's talents don't stop there - she is also a passionate cook and baker. Her kitchen is her sanctuary, where she experiments with flavors, creates mouthwatering dishes, and bakes delectable treats that leave everyone craving for more.