How To Make A Cake Plateau
Understanding the Basics of a Cake Plateau: A Guide for Beginners
So, you think you’re ready to step up your cake game, huh? Well, hold on tight, my friend, because we’re about to dive headfirst into the fascinating world of cake plateaus! Now, I know what you’re thinking – ‘What the heck is a cake plateau?’ Is it some kind of hidden landmass full of wondrous sugary delights? Not quite, my clueless compadre. A cake plateau is essentially a fancy stand that elevates your cake to a whole new level (literally!). It’s like giving your cake a grand throne to sit on, so it can feel like the regal dessert it truly is. But before you go all gaga over cake thrones, let’s walk through the basics of these majestic structures, shall we? It’s time to embark on a journey of epic buttercream proportions!
Selecting the Right Materials and Tools for Building Your Own Cake Plateau
An interesting fact about how to make a cake plateau is that the concept of using multi-tiered stands for displaying cakes dates back to ancient Greece. The Greeks created elaborate platforms called Triskelions, which were used to present various delicacies, including cakes, at banquets and special occasions. These early versions of cake plateaus featured intricate designs and were often adorned with precious metals and gemstones, showcasing the importance and grandeur associated with cake presentation even thousands of years ago.
So, you’ve decided to take on the noble task of building your very own cake plateau – you’re clearly a person of great ambition, and possibly a touch of madness. But fear not, dear reader, for I am here to guide you through this treacherous but utterly rewarding endeavor. When it comes to selecting the right materials, you have to be strategic. A sturdy base is crucial, so consider using materials like wood or marble – unless, of course, you’re feeling especially adventurous and wish to go for that modern rustic vibe by repurposing an old tire. As for tools, be prepared to channel your inner Bob the Builder with a trusty drill, sandpaper for those smooth edges, and a healthy dose of patience for when your creation starts resembling a leaning tower of Pisa. Remember, my friend, in the realm of cake plateaus, the journey is just as important as the destination. Embrace the chaos, unleash your inner architect, and who knows, you might just end up with a masterpiece that would make even Marie Antoinette green with envy!
Step-by-Step Instructions to Construct a Sturdy and Beautiful Cake Plateau
Oh, buckle up, my fellow DIY enthusiasts! Today, I am here to enlighten you with the most riveting step-by-step instructions on how to construct a sturdy and drop-dead gorgeous cake plateau. Now, before we dive into this adventure, let me just remind you that embarking on this journey might awaken your inner handyman. So, grab your tools, your sense of determination, and let’s get this party started!
Step 1: The Foundation First things first, you need a solid base for your cake masterpieces. Find a sturdy wooden board or maybe an old door (just make sure it’s not still attached to your house, trust me). This is the foundation upon which your cake dreams will come to life. Clean it up, rub it with love and imaginary unicorn blessings, and prepare it for the fabulous journey that lies ahead.
Step 2: The Legs of Glory Now, let’s elevate our creation to unimaginable heights! Find yourself four table legs or pilfer a forgotten piece from your neighbor’s abandoned dining table. Oh, the thrill of the hunt! Attach these majestic legs to the corners of your sturdy base, securing them tightly with screws. Make sure they’re as straight as your Uncle Bob’s never-ending dad jokes—no wobbly business allowed here.
Step 3: The Magical Skirt Ah, the finishing touch that will make your cake plateau simply divine—a skirt! No, no, not a frilly tutu, my friend. We’re talking about a wooden skirt that hugs the edges of the base, keeping it classy and elegant. Cut a long piece of smooth wood or race to your local home improvement store and look for a pre-made skirt. Attach it to the sides of the base, making it fit as snuggly as your favorite pair of stretchy pants (no judgment, we all have them).
Step 4: The Grandeur of Sanding Now, let’s smooth it all out, just like those wrinkles from your face after a three-hour spa session (who needs Botox, am I right?). Grab your sandpaper and give your creation the royal treatment it deserves. Smooth out all the rough edges and make it as silky to the touch as a baby’s bottom (hey, don’t ask me why I know that).
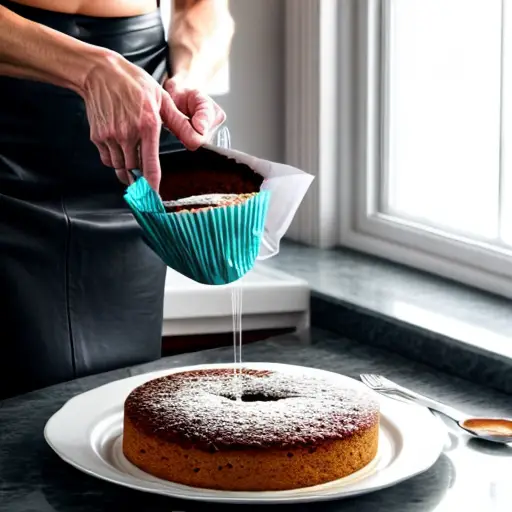
Step 5: The Coat of Armour Protect your masterpiece, my dear DIY knight! Break out that can of paint or varnish and apply a generous coat all over your cake plateau. Choose a color that complements your kitchen or showcases your inner rebellious soul (I’m looking at you, neon pink enthusiasts). Let it dry, and voila! Your cake plateau is ready to serve as a trusty companion for countless delicious creations.
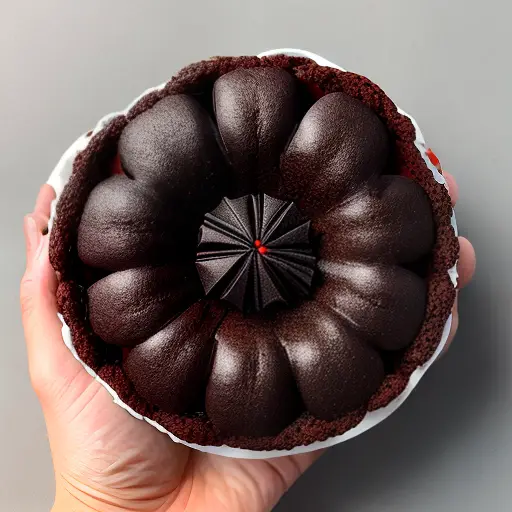
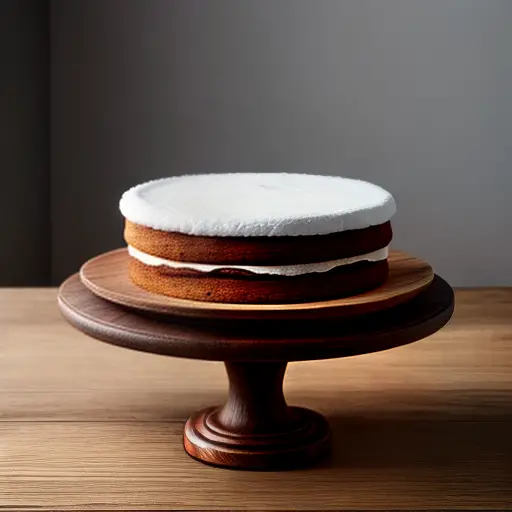
Step 6: The Cake Architect’s Finale Now picture this: Your cake masterpiece triumphantly perched on top of your newly constructed cake plateau, looking flawless and ready to conquer the hearts (and stomachs) of your friends and family. And here you are, basking in the glory of your own creation, knowing that you’re not only a make-believe engineer but also a dessert revolutionary.
So there you have it, my friends! The flamboyant journey of constructing a sturdy and beautiful cake plateau full of laughs, determination, and maybe a few amusing mishaps. Now, go forth and bring your cake fantasies to life, one level at a time!
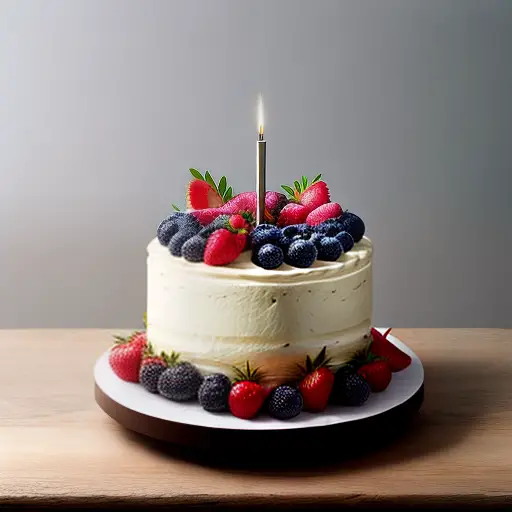
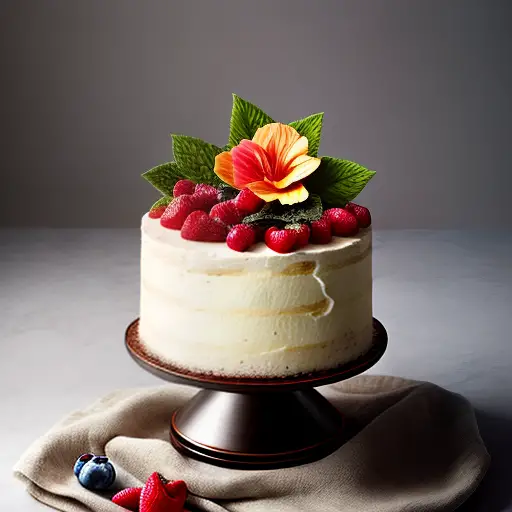
Enhancing Your Cake Plateau: Decoration Tips and Tricks for a Stunning Presentation
Fun fact: Did you know that making a cake plateau is not only a creative way to display a beautiful cake, but it can also double as a quirky centerpiece? Your cake won’t just taste delicious, but it will take center stage at any party or gathering, becoming the talk of the event!
Ah, the cake plateau – the grand stage where our beloved sugary creations perform their showstopping acts. But let’s face it, sometimes a plain old cake on a plate just won’t cut it. Fear not, my fellow cake enthusiasts! I’m here to sprinkle some decoration tips and tricks that will take your cake presentation from ‘meh’ to ‘holy moly, did a professional pastry chef create this masterpiece?’ First things first, let’s dress up that plain old plate. Add a fancy doily or a sparkly tablecloth to give your cake a VIP stage. Now, onto the main act – the cake itself. Don’t be afraid to go beyond the usual barricade of frosting. Adorn your cake with edible flowers, fruit sculptures, or even tiny fondant figurines doing a synchronized swan dive. And remember, when it comes to cake decoration, there’s no such thing as too much glitter – because who doesn’t love edible bling? So, my dear cake lovers, take these tips, let your imagination run wild, and let your cake be the star that outshines even the most dazzling chandeliers!

Austin is a witty and vivacious blogger who has a knack for making people laugh. With her infectious sense of humor, she effortlessly brings joy to her readers through her blog posts. But Austin's talents don't stop there - she is also a passionate cook and baker. Her kitchen is her sanctuary, where she experiments with flavors, creates mouthwatering dishes, and bakes delectable treats that leave everyone craving for more.