How To Make Pillsbury Cake
Gathering Your Ingredients and Equipment
So, you’ve decided to embark on a culinary adventure and tackle a new recipe. Congratulations, brave soul! Now, before you dive headfirst into the kitchen chaos, it’s crucial to round up all your ingredients and equipment. Think of it as gathering your troops and organizing them for battle, except in this warzone, the only casualties would be burnt biscuits and the occasional stain on your shirt. So arm yourself with your trusty spatula, brandish your mixing bowls like a boss, and fortify your pantry with an assortment of spices that could make the bravest taste buds quiver. Remember, the success of your culinary undertaking hangs in the balance, much like a pirate on a tightrope crossing the sauce-sea. Now go forth, intrepid chef, and may your pantry shelves be ever stocked and your apron forever stained with your glorious kitchen conquests!
Mixing and Preparing the Cake Batter
An interesting fact about making Pillsbury cake is that the Pillsbury Baking Company actually started out as a flour milling company back in 1869. However, after developing a process to create a finer and more consistent flour, the company decided to diversify its product line. This led to the introduction of Pillsbury cake mixes in the late 1940s, which revolutionized home baking by making it easier and more convenient for people to enjoy delicious cakes at home. So when you’re making a Pillsbury cake, you’re not just baking a delicious treat – you’re partaking in the history of a company that has been innovating in the baking industry for over a century!
Ah, mixing and preparing cake batter, the ultimate exercise in balance and bravery. It’s where kitchen warriors truly shine. First, gather your ingredients like a seasoned treasure hunter, making sure to add a dash of confidence and a pinch of enthusiasm for good measure. Then, crack those eggs with the finesse of a drum solo, creating a symphony of shells and gooey goodness. As you whisk the ingredients together, channel your inner dancing queen, swirling and twirling with every beat. Just remember, in the great batter battleground, air bubbles are your enemy, so stir with purpose, like you’re trying to solve the world’s most delicious puzzle. And voila! You’re now a cake batter maestro, ready to conquer the oven and bake your way to culinary victory.
Baking and Cooling the Cake to Perfection

Ah, baking and cooling the cake – such an art form, it could almost be likened to a delicate dance. It’s like the ultimate test of patience and self-control, especially for us impatient souls who would rather devour a half-baked creation than wait for it to cool. But fear not, fellow bakers, for I am here to guide you through this treacherous journey with a dash of humor and a pinch of sarcasm.
First things first, dear friends, let’s talk about the process of baking. It all starts with meticulously measuring ingredients, or maybe eyeballing them with a carefree attitude – who am I to judge? As we mix together the flour, sugar, and all the other magic powders, we often find ourselves questioning our life choices and the voices in our heads that propelled us to bake in the first place. But fret not, for that intoxicating aroma that fills the air and the anticipation of devouring a masterpiece will make it all worth it.
Now, let’s dive into the world of ovens – the temperamental creatures of the kitchen. Whether you have a brand-new oven with all the fancy settings or an ancient relic passed down from generations, you can never truly know if it’s conspiring against you. You set the temperature to what you think is ideal, only to find out that your oven is an overzealous heatwave or a lazy slacker who refuses to get the job done. It’s a bit like playing a game of baking roulette, where you never quite know what you’re going to get.
As our cake bakes, we find ourselves swaying between cautious optimism and sheer panic. We peek into the oven window, watching our creation rise gloriously, only to deflate like a rejected contestant on a reality TV show. And thus, we’re left wondering if we’ll ever achieve that beautifully leveled cake we see in picture-perfect cookbooks. But hey, remember that cakes with character are the best kind, right? Imperfection just adds a touch of uniqueness and an excuse to cover it up with heaps of frosting later.
And now, let’s talk about the ever-so-crucial cooling process. It’s essentially a waiting game, time standing still as we stare at the hot cake sitting on the countertop. Trying to rush this step is a trap that we’ve all fallen into – that instant gratification devil on our shoulder that whispers, ‘Go on, take a bite. Who cares if it’s piping hot?!’ But no, dear friends, we must summon all our willpower and resist the temptation to burn our taste buds into oblivion.
As we wait, we engage in all sorts of shenanigans to speed up the cooling process. We blow on the cake like we’re trying to extinguish a candle on our birthday, or we perform a series of elaborate fan dances to whisk away the heat. However, let’s admit it, all of our attempts are as futile as trying to convince ourselves that eating a whole cake in one sitting is a balanced breakfast.
Finally, after what feels like an eternity, our cake is cool enough for us to frost – or so we hope. We eagerly spread a generous layer of frosting, trying to distract ourselves from the inevitable crumbs that will undoubtedly mar our masterpiece. Yes, dear friends, these crumbs are the bane of our existence, and no matter how hard we try to prevent their invasion, they always find a way to sneak into the smooth surface of our stunning creations.
In the end, though, despite all the trials and tribulations, we stand proudly before our cake. Imperfect or perfect, it’s a labor of love, a symbol of our efforts and dedication. And as we take that first heavenly bite, all the stress and frustration melt away, leaving only pure bliss and undeniable satisfaction. So, fellow bakers, let us embrace this magical journey of baking and cooling, laughing in the face of burnt edges and wonky layers, because at the end of the day, it’s the experience and the joy it brings that truly matter.
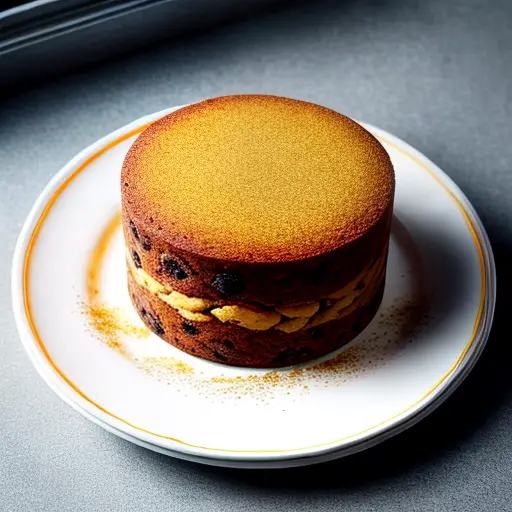
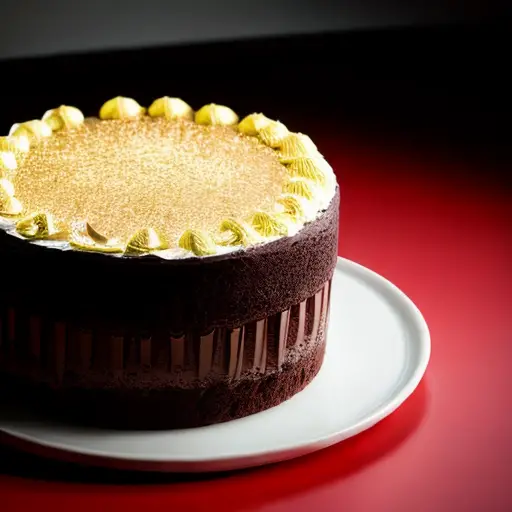
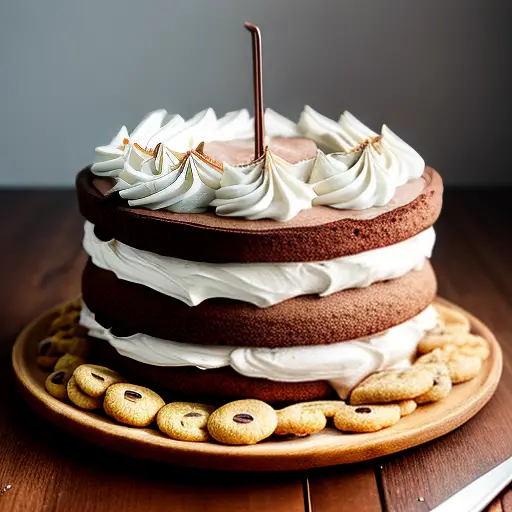
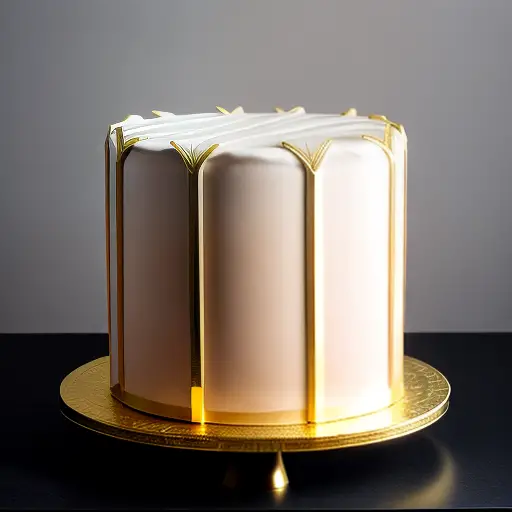
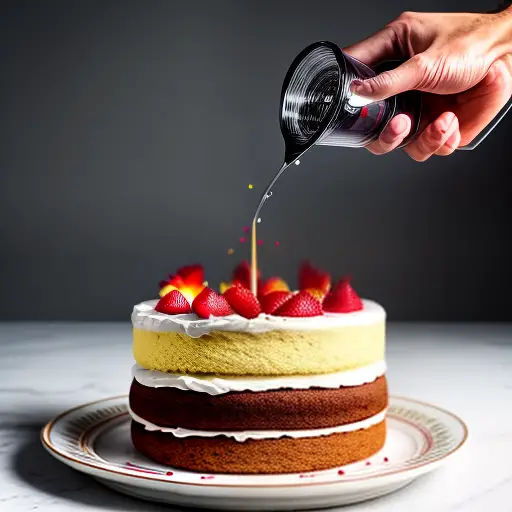
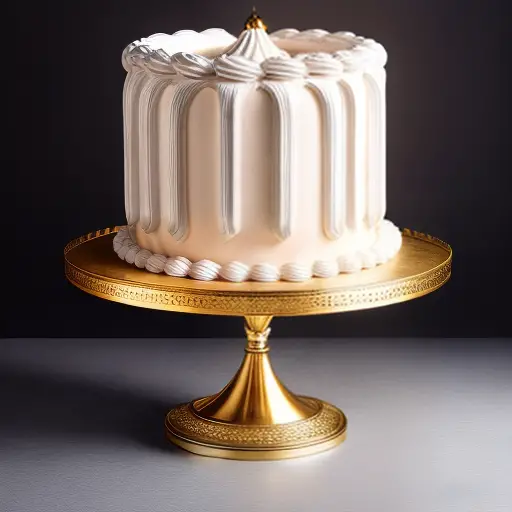
Frosting and Decorating Your Pillsbury Cake
A fun fact about how to make Pillsbury cake is that adding a cup of carbonated soda to the cake mix can give it an extra fluffiness and a unique flavor twist. So go ahead and bake your cake with a fizzy surprise!
Ah, the true art form of frosting and decorating your Pillsbury cake – a delicate dance between sweet temptation and artistic expression. As you carefully slice open that deceivingly innocent packet of frosting, you can’t help but feel a twinge of excitement. Will your cake be a canvas for intricate designs that Picasso himself would envy, or will it end up looking like a toddler’s finger-painting experiment gone terribly wrong? The power lies in your hands, or rather, in that flimsy plastic spatula included in the box. With each stroke, you’re in a battle against gravity, trying your best to keep the frosting from slipping off the sides and creating a chaotic mess. But fear not, for even if your cake ends up leaning more towards the abstract art spectrum, it will always be a masterpiece in deliciousness.

Austin is a witty and vivacious blogger who has a knack for making people laugh. With her infectious sense of humor, she effortlessly brings joy to her readers through her blog posts. But Austin's talents don't stop there - she is also a passionate cook and baker. Her kitchen is her sanctuary, where she experiments with flavors, creates mouthwatering dishes, and bakes delectable treats that leave everyone craving for more.