How To Make A Cake Stand Out Of Wood
Understanding the Basics of Cake Stand Design
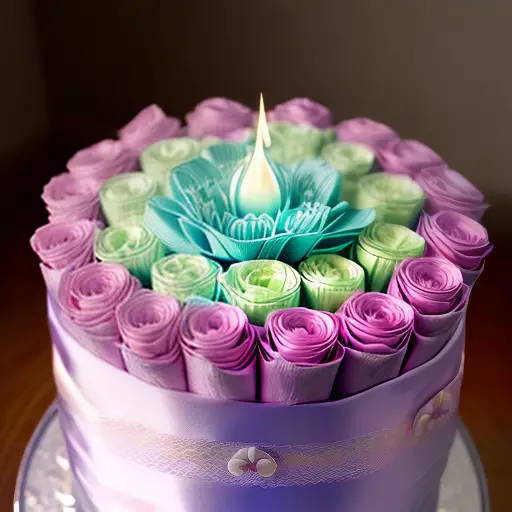
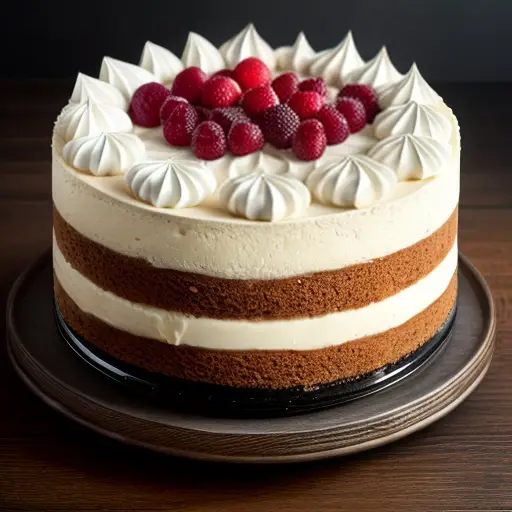
Cake stands, those elegant pedestals that elevate our sweet creations to a whole new level, are like the unsung heroes of the dessert world. They may seem like simple platforms, but oh boy, there’s a whole science behind their design! First things first, let’s talk about stability. You wouldn’t want your precious cake toppling over like a clumsy cat on roller skates, would you? That’s why cake stands have sturdy bases, thicker than a Kardashian’s contour, to keep everything steady. And let’s not forget the pillar, the unsung MVP. Like a trusty sidekick, it supports the weight of the cake, standing tall and proud, always ready to be the wind beneath your cake’s wings. So next time you indulge in some cakey goodness, spare a thought for the intricate artistry that goes into creating these dessert thrones. After all, every cake deserves its moment in the spotlight, even if it means sitting on a stunningly designed pedestal.
Choosing the Right Wood and Tools for Your DIY Cake Stand
An interesting fact about making a cake stand out of wood is that it allows for endless creativity and customization. Unlike other materials such as glass or ceramic, wood can be easily shaped, carved, and stained to match any theme or style. Whether you prefer a rustic, farmhouse look or an elegant, polished finish, working with wood gives you the opportunity to create a one-of-a-kind cake stand that truly stands out on any dessert table.
So you want to make your own cake stand, huh? Well, first things first, you’ll need some wood. Now, I know what you’re thinking – ‘Can I just use popsicle sticks and call it a day?’ Hmm, not exactly. You want a cake stand, not a toothpick holder (although, hey, no judgment if you want to go that route). Opt for a sturdy, quality wood like oak or maple that can handle the weight of a multi-tiered masterpiece without collapsing like a soufflé on a hot day. As for tools, forget about your toy plastic hammer – this ain’t a game of whack-a-mole. Invest in some proper woodworking tools like a saw, sandpaper, and a drill. You don’t want to end up with a cake stand that looks like it was made by an overzealous beaver. Trust me, your cake deserves better!
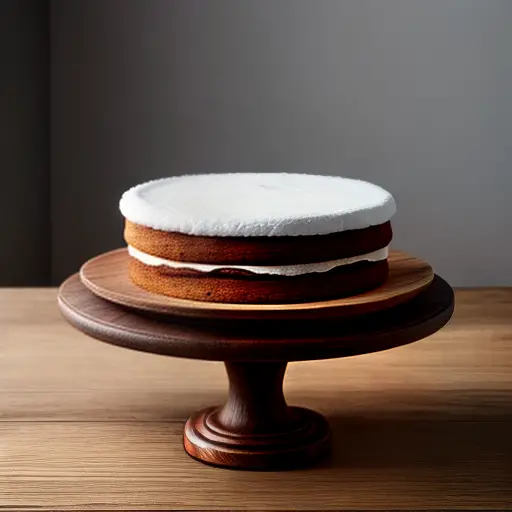
Step-by-Step Guide – Building a Simple Wooden Cake Stand
Hey there DIY enthusiasts and fellow cake lovers! Today, I am here to bring you a step-by-step guide on how to build your own simple wooden cake stand. Now, before we jump into the nitty-gritty, let me warn you – this project may involve some serious carpentry skills which, if you’re anything like me, you probably lack. But fear not, my friends! If your idea of DIY is using fancy store-bought cupcake liners, then this guide is perfect for you.
Step one: Find a suitable piece of wood. Now, I know what you’re thinking – where the heck am I supposed to find a random piece of wood just lying around? Well, let me tell you a secret – it’s actually not that hard! You see, nature has this magical way of growing trees, and sometimes those trees fall down, leaving behind beautiful chunks of wood. So, grab your hiking boots, head to the nearest forest, and forage for the perfect wooden treasure!
Step two: Assess your woodworking skills. If you are a master carpenter, feel free to skip this step. But for the rest of us mere mortals, it’s essential to honestly evaluate our abilities. Can you confidently swing a hammer without accidentally hitting your thumb? Can you measure with relative accuracy? If you answered ‘no’ to both questions, then perhaps it’s time to recruit a handy friend or invest in a first aid kit.
Step three: Prepare your workspace. Now, if you’re one of those super organized DIYers who have a perfectly designed workshop, complete with every tool known to man, kudos to you! If, like me, your workspace consists of a cluttered kitchen table, fear not. Just make sure you clear a spot for your wooden cake stand project, providing just enough space for all the potential disasters waiting to happen.
Step four: Measure twice, cut once. This is one of those classic woodworking sayings that always seems easier said than done. But trust me, folks, this step can make or break your wooden cake stand dreams. So grab that measuring tape, summon your inner mathematician, and pray you don’t end up with a lopsided monstrosity.
Step five: Assemble the pieces. Now comes the fun part – putting it all together! Imagine yourself as a mini architect, balancing each wooden piece delicately. But hey, if all else fails, remember that hot glue is your best friend in times of crisis. Just be ready for potential cake catastrophes if it decides to give in under the pressure.
Step six: Sand it down. Nobody likes a rough wooden surface, especially when you’re planning to showcase a delicate confection on it. So, grab your sandpaper and channel your inner perfectionist. Pretend you’re at a spa, indulging in a cake stand massage. Smooth it out until it becomes as soft and silky as the buttercream frosting you’re about to slather on your cake.
Step seven: Celebrate your achievement. You did it, my friend! You built your own wooden cake stand, despite the odds. Sure, it may not be perfect, and it might bear a few battle scars, but it’s uniquely yours. So take a step back, admire your work, and reward yourself with a well-deserved slice of cake for a job well done. Go on, you earned it!
And there you have it, folks – a long-winded, slightly comedic, but hopefully entertaining step-by-step guide on building a simple wooden cake stand. Now, go forth and conquer the world of DIY, one cake stand at a time! Or, you know, stick to store-bought ones if that’s more your speed. Happy building, everyone!
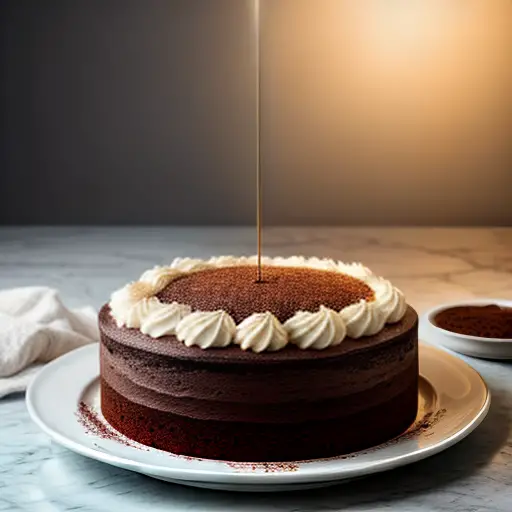
Adding Personal Touches – Decorating and Finishing Your Wooden Cake Stand
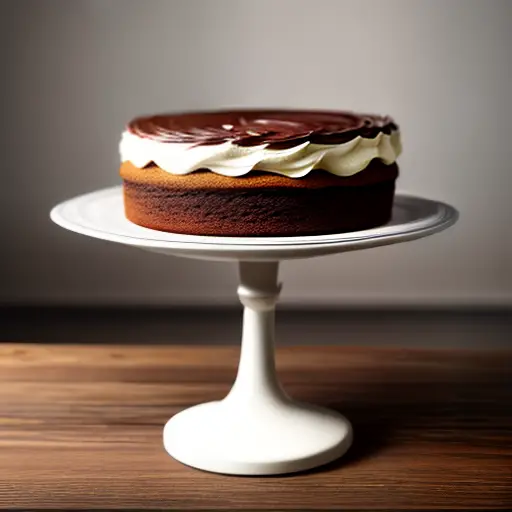
A fun fact about how to make a cake stand out of wood is that you can customize it to any design or theme you can imagine! From the rustic charm of a log slice cake stand to an intricately carved wooden pedestal, the possibilities are endless. Wood allows you to add personal touches that can make your cake stand truly one-of-a-kind and a delightful centerpiece for any occasion.
If you’re tired of boring, plain old cake stands stealing the spotlight from your fabulous baked creations, it’s time to turn on your creative mode and add some personal touches! Decorating and finishing your wooden cake stand is not only a fun project but also a chance to show off your unique style. Whether you choose to paint it in vibrant colors, add glitter and sequins for a touch of glamour, or even personalize it with witty cake-related puns, the possibilities are endless. Just make sure your decorations don’t end up being more eye-catching than your amazing cake, or you might find yourself in a hilarious battle for attention!

Austin is a witty and vivacious blogger who has a knack for making people laugh. With her infectious sense of humor, she effortlessly brings joy to her readers through her blog posts. But Austin's talents don't stop there - she is also a passionate cook and baker. Her kitchen is her sanctuary, where she experiments with flavors, creates mouthwatering dishes, and bakes delectable treats that leave everyone craving for more.