How To Use A Silicone Cake Pan
Getting Started: Essential Tips for Using a Silicone Cake Pan
So you’ve finally decided to step up your baking game and dive headfirst into the world of silicone cake pans. Well, my friend, get ready to have your mind blown and your taste buds tantalized. Using a silicone cake pan is like having a superpower in your kitchen – it’s flexible, non-stick, and gives your cakes that perfect pop-out effect that will make your guests go weak in the knees. But before you go wild with your newfound baking prowess, let me share a couple of essential tips to keep you from having a giant cake disaster. First, make sure you give your silicone pan a good scrub before using it for the first time. Gordon Ramsay might not be watching, but trust me, the cake gods will be pleased. Second, don’t be shy with the baking spray. Silicone might be non-stick, but it’s always best to play it safe and avoid any sticky situations. Finally, don’t toss that pan into a scalding hot oven right away – give it a little preheating time to get cozy in there. Now, go forth and conquer the baking world, armed with your trusty silicone cake pan and a side of outrageous humor.
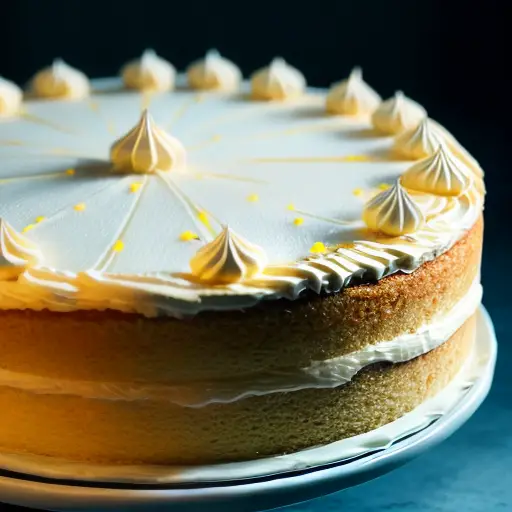
Baking Success in a Silicone Pan: Preparing and Filling the Mold Properly
An interesting fact about using a silicone cake pan is that it can actually help reduce baking time. Due to its excellent heat conductivity, silicone pans distribute heat evenly throughout the batter, resulting in quicker and more efficient baking. This allows the cake to rise and set faster, cutting down the overall baking time compared to traditional metal or glass pans.
If there’s one thing I’ve learned in my baking adventures, it’s that success doesn’t always involve fancy techniques or expensive equipment. Sometimes, all you need is a good old silicone pan and a pinch of creativity. Now, let’s talk about preparing and filling the mold properly. First things first, prepare your pan by giving it a good wash, unless you’d like your dessert to have a hint of last week’s lasagna. Then comes the fun part – preparing the batter. It’s like conducting a symphony of flavors, except you’re the chef and the batter is your favorite tune. Just make sure you don’t overfill the pan, unless you want your beautiful masterpiece to resemble a volcanic eruption. Remember, baking is an art, and you are the Picasso of pastries. So, go forth, my fellow bakers, and unleash your baking wizardry with the help of that trusty silicone pan!
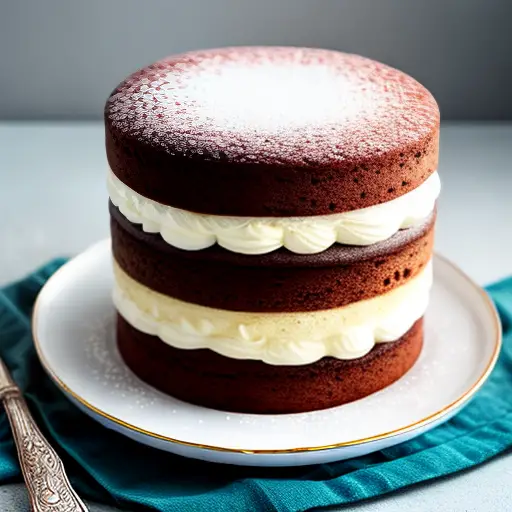
Mastering the Art of Unmolding: Techniques for Perfectly Releasing Your Cake
Ah, the art of unmolding—every baker’s Everest, their ultimate test of skill and patience. It’s that moment of truth when you hold your breath, say a little prayer to the baking gods, and gently coax your masterpiece out of its cozy mold. Will it gracefully glide out like a swan in a lake, or will it stubbornly cling to the sides like a teenager refusing to get out of bed in the morning? Mastering the art of unmolding is a delicate dance that requires technique, finesse, and a determination stronger than that of a toddler set on having a second scoop of ice cream.
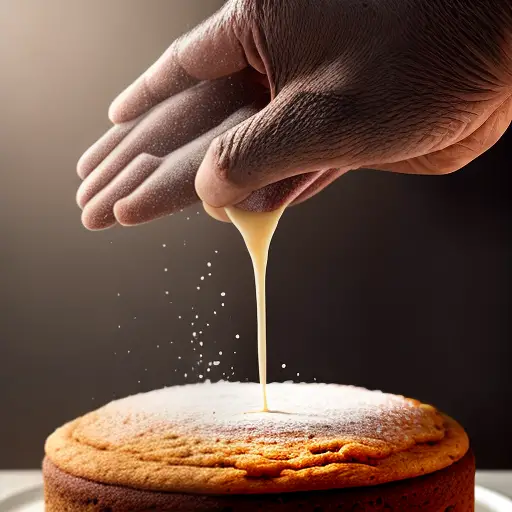
First things first, my aspiring bakers, grease is your secret weapon here. Think of it as the WD-40 of the baking world—a magical substance that creates a slick barrier between your cake and the mold. So liberally butter the sides, enlist the help of parchment paper, or give your trusty non-stick spray a good old spritz. Just remember, a little grease goes a long way, unless you’re trying to audition for a role in The Slip ‘N Slide Chronicles.
Now, let’s talk patience. This is where the iron-clad self-restraint of a monk comes into play. Once your cake has achieved peak perfection in the oven, it needs a little time to cool and collect itself before facing the challenge of the unmolding process. It’s like sending your cake to a day spa—give it space to relax, de-stress, and release any tension it may have built up in the baking process. As tempting as it may be to dive headfirst into that gorgeous creation, trust me, it’s worth the wait.
Preparing for the grand unmolding spectacle requires some strategic thinking. If you’re using a springform or removable bottom pan, release the sides first, much like a breaking news story. Loosen those clasps gently and give the pan a little shake. If all goes well, your cake will gracefully detach itself from the sides, ready to be whisked away to internet stardom and dessert glory. But be warned, dear bakers, never underestimate the sneaky wrath of a stubborn cake. If it decides to cling to the pan like your childhood teddy bear, don’t panic. Take a deep breath, channel your inner calm, and run a sharp knife around the edges to loosen that beast from its lair.
Now, if you’re dealing with a bundt pan, well, that’s a whole different ball game. Picture yourself conducting a delicate operation—not the kind that requires a scalpel, but the kind that requires a grace akin to a prima ballerina. Start by patiently tapping the sides of the pan with a wooden spoon, working your way around the mold, helping your cake to gently let go of its confines. Once that’s done, take a deep breath, say a silent ‘You can do it!’ pep talk, and carefully invert that pan onto a cooling rack. Picture yourself as the confident suitor wooing your cake, gently coaxing it out with a few reassuring pats on the back.
In the grand scheme of things, my fellow bakers, mastering the art of unmolding is like that one episode of your favorite TV series that keeps you on the edge of your seat—the anticipation, the excitement, the possibility of triumph or failure. But fear not, armed with the proper techniques and a dash of humor, you can tackle this challenge head-on and conquer the world of unbaked cakes. Remember, if all else fails, just grab a spoon, embrace the imperfection, and dive right in. After all, the taste is where the true mastery lies. Happy unmolding, my baking compatriots!
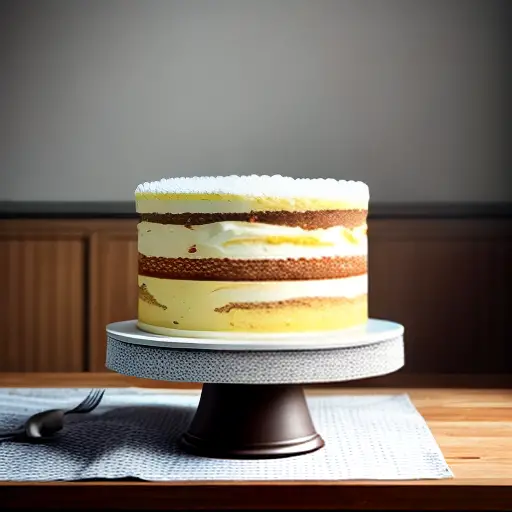
Caring for Your Silicone Pan: Cleaning and Storage Tips for Long-Lasting Use
A fun fact about how to use a silicone cake pan is that it doubles as a fantastic stress relief tool! Just stretch and squish the flexible silicone mold before using it to bake your favorite cake. It’s a great way to release any tension and get in the baking spirit!
Alright folks, time to talk about something very near and dear to our hearts – silicone pans. You know, those magical kitchen tools that make baking a breeze and cleaning up a total delight (well, most of the time). So, let’s dive into the deep, steamy world of caring for your beloved silicone pan, because let’s face it, we want them to last longer than our latest Netflix binge. Now grab your scrub brushes and a sense of adventure, because it’s cleaning time! First things first, forget about sticking that precious pan in the dishwasher – oh no, silicone pans prefer to be hand-washed in lukewarm soapy water. Gently scrub away any residue or stubborn stains, and resist the urge to go all Hulk on it, as that might damage the pan. Once all squeaky clean, it’s time to give your pan a spa day – yep, you heard that right. Rub a little cooking oil over the surface to keep it smooth and supple. Now, storage time! Treat your silicone pan like the delicate flower it is. Find a cozy corner in your kitchen where it can rest peacefully, away from the clamor of other cookware. And for heaven’s sake, please don’t let it mingle with sharp objects like knives or metal spatulas – we’re aiming for long-lasting love, not a Romeo and Juliet tragedy here. So there you have it, my friends – the key to a blissful relationship with your silicone pan. Treat it with care, and it will reward you with countless batches of perfect, non-stick deliciousness. Happy baking!

Austin is a witty and vivacious blogger who has a knack for making people laugh. With her infectious sense of humor, she effortlessly brings joy to her readers through her blog posts. But Austin's talents don't stop there - she is also a passionate cook and baker. Her kitchen is her sanctuary, where she experiments with flavors, creates mouthwatering dishes, and bakes delectable treats that leave everyone craving for more.