How To Make A Twix Cake
Gathering Your Ingredients and Tools
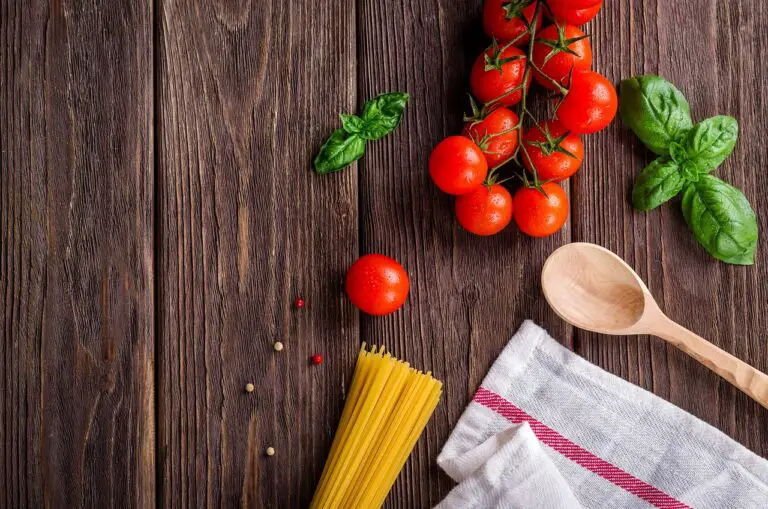
Gathering your ingredients and tools for a cooking adventure is like preparing for an epic battle. Picture yourself as a fearless warrior, ready to conquer both taste buds and kitchen chaos. As you solemnly march through the grocery store aisles, you carefully select the tomatoes, onions, and various cheeses, envisioning your enemies surrendering to the power of your culinary skills. Don’t forget to grab that trusty apron, your secret weapon against sauce splatters and flour explosions! Armed with a good chef’s knife, you feel invincible – chopping, slicing, and dicing like a samurai on a sacred quest. So, fellow kitchen warriors, remember to gather your ingredients and tools with the utmost bravado. Victory awaits; your taste buds demand it!
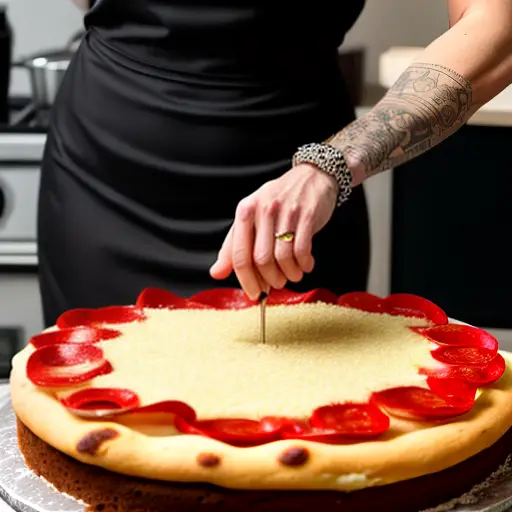
Preparing the Perfect Twix Cake Base
An interesting fact about making a Twix cake is that the original Twix candy bar was first introduced in the United Kingdom in 1967 and later made its way to the United States in 1979. The combination of crunchy biscuit, caramel, and chocolate quickly gained popularity, leading to the creation of different Twix-inspired recipes, including the delicious Twix cake. So, by making a Twix cake, you’re not only indulging in a decadent dessert, but also paying homage to a beloved candy bar that has delighted taste buds for over half a century.
Preparing the Perfect Twix Cake Base is like embarking on a treasure hunt, but tastier! Start by rounding up the usual suspects: crushed biscuits that will form the backbone of this sweet masterpiece. Whether smashing them with a rolling pin or taking out your frustrations with life, this step guarantees both a therapeutic experience and a crumbly base that will make your tastebuds sing. Next comes the melted butter – think of it as the James Bond of this twisted confection, smoothly infiltrating every crevice to bind the biscuits together like a secret agent on a mission. Once you’ve created this dream team combination, press it firmly into the cake tin and leave it to set, just like Batman letting his trusty gadget dry. And voila! You have your Twix Cake Base, ready to be crowned with caramel and chocolate, the perfect treat for indulging your inner superhero or super-villain.
Creating the Irresistible Caramel Filling

Oh boy, do I have a treat for you today! Get ready to indulge in the sinfully sweet delight that is creating the irresistible caramel filling. I mean, who can resist the allure of velvety, gooey caramel that oozes out when you take that first bite? It’s like a warm embrace for your taste buds, a comforting hug from a dessert that just gets you.
Now, before we dive headfirst into this delectable adventure, let me warn you – making caramel is not for the faint of heart. It’s a bit like walking a tightrope between success and disaster, but fear not, my brave culinary warriors, for I shall guide you through this caramel-filled journey.
First things first, you need to gather your weaponry – a heavy-bottomed saucepan, an apron (caramel is known to be a sneaky splatterer), and a whole lot of patience. Caramel demands your respect, your undivided attention. You must attend to its every whim and fancy, for it can turn from a golden, velvety smooth sauce to a burnt disaster in the blink of an eye.
Now, let’s talk ingredients. You’ll need sugar, butter, heavy cream, and a pinch of salt. Simple, right? But be prepared for the alchemy that takes place when these humble components come together. It’s like turning lead into gold, only much tastier.
Here’s where the fun begins – melt the sugar in your trusty saucepan over medium heat. You’ll soon witness the sugar turning into a mesmerizing liquid, changing colors from pale gold to a rich amber. It’s like watching Picasso paint with caramel.
Now, with extreme caution, add the butter, and watch in awe as it transforms the amber goodness into a creamy, buttery wonderland. Your kitchen will start to smell like a caramel paradise, and you might find yourself drooling uncontrollably.
Next up, pour in the heavy cream. Brace yourselves, because this is where the magic happens. The cream will create a sizzle and bubble, as if the caramel gods themselves are applauding your efforts. Stir, stir, stir, until everything is well-combined and you’re left with a sea of caramel perfection.
But wait, we can’t forget about the salt! Sprinkle in a pinch, just to balance out the sweetness and elevate the flavors to a whole new level. Yes, my friends, we’re reaching the realms of caramel nirvana.
Now, you may be tempted to dive headfirst into this pool of caramel divinity, but resist the urge. A little patience goes a long way when it comes to caramel. Let it cool slightly, allowing it to thicken and develop that glorious consistency that will make your taste buds dance with joy.
And there you have it – your own homemade, irresistible caramel filling. You can use it to drizzle over ice cream, dip apples into, or even fill your favorite baked goods. The possibilities are endless, my dear caramel enthusiasts.
But before I leave you to indulge in your caramel-filled dreams, let me share a little piece of advice – don’t be afraid to experiment. Add a sprinkle of sea salt, a splash of vanilla extract, or a shot of bourbon to elevate your caramel to new heights of deliciousness. After all, life is short, so why not make every bite of caramel count? Bon appétit, my fellow dessert lovers! Enjoy every tempting, sticky, and utterly irresistible moment!
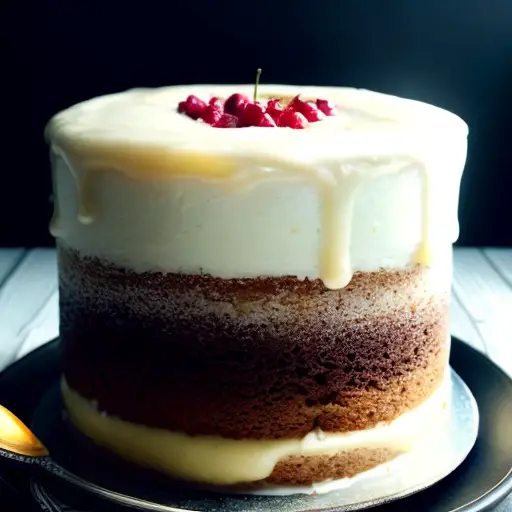
Assembling and Decorating Your Twix Cake Masterpiece
Fun fact: Did you know that to make a delicious and indulgent Twix cake, a key ingredient is not just the classic candy bar itself, but also a generous sprinkling of creativity? Get ready to embrace the fun of baking, as you unleash your inner pastry artist to create a cake that’s not only visually stunning but also incredibly scrumptious, just like the iconic Twix candy!
So you’ve decided to take your baking skills to the next level and create a Twix cake masterpiece? Bravo, my fellow dessert enthusiast! Get ready to embark on a sugary adventure as you assemble and decorate this epic creation. Firstly, gather all the essential ingredients like chocolate cake layers, caramel sauce, and heaps of Twix bars (be sure to hide some from prying hands). Assemble the layers, generously slathering each one with caramel goodness, but don’t eat it all—you’ll need some for the cake! Next, let your imagination run wild as you create a Twix bar fence around the cake. Trust me, it’s like a flavor explosion and a white picket fence had a delicious baby. Finally, add any extra Twix bits you have lying around as artistic adornments—because a Twix cake without extra Twixes would be simply uncivilized. Now step back and marvel at your sweet triumph. Voilà, you’ve just created a cake I bet even Willy Wonka would be proud of!

Austin is a witty and vivacious blogger who has a knack for making people laugh. With her infectious sense of humor, she effortlessly brings joy to her readers through her blog posts. But Austin's talents don't stop there - she is also a passionate cook and baker. Her kitchen is her sanctuary, where she experiments with flavors, creates mouthwatering dishes, and bakes delectable treats that leave everyone craving for more.